


 If you can get over the sneeze factor (Hello, high pollen alerts every day!), now is the perfect time to take in the natural beauty of North Texas. The wildflowers are blooming, the sun is shining (mostly), and it’s not so hot that we’re all hiding in the air conditioning yet.
If your kids are anything like mine, they want to be outside as much as possible. Mine are usually content to keep themselves entertained in our backyard or the neighborhood playground, but sometimes they want to get out and explore a little further from home.

We love taking nature walks! We grab our binoculars, bird book, magnifying glass, and always, always, always a “nature bag.” What is a nature bag? It’s usually just a grocery bag, but really any means of containing the leaves, sticks, flowers, rocks, acorns, rocks, concrete chunks, did I mention rocks? So many rocks! We always have a nature bag to take our treasures home.
Now, what do we do with all these nature treasures once we get home? Usually, they land in the garage and stay there until Mom or Dad decides to clean up, and then they magically disappear with our twice-weekly garbage pick-up. But sometimes Mama gets creative! We’ve made nature collages, we’ve painted rocks and shells, we’ve done texture rubbings. Our most recent crafting project was nature weaving.
Nature Weaving with Kids
Nature weaving was so much fun! And the creations turned out so cute! I followed this guide but will also provide you with the basic steps. My kids are 2, 5, and almost 7. My oldest was really into this project and did one on his own. The younger two were less interested and really in need a lot of help. This is obviously child-dependent, but this project is probably best for PreK – elementary-age kiddos.
 How to: Nature Weaving
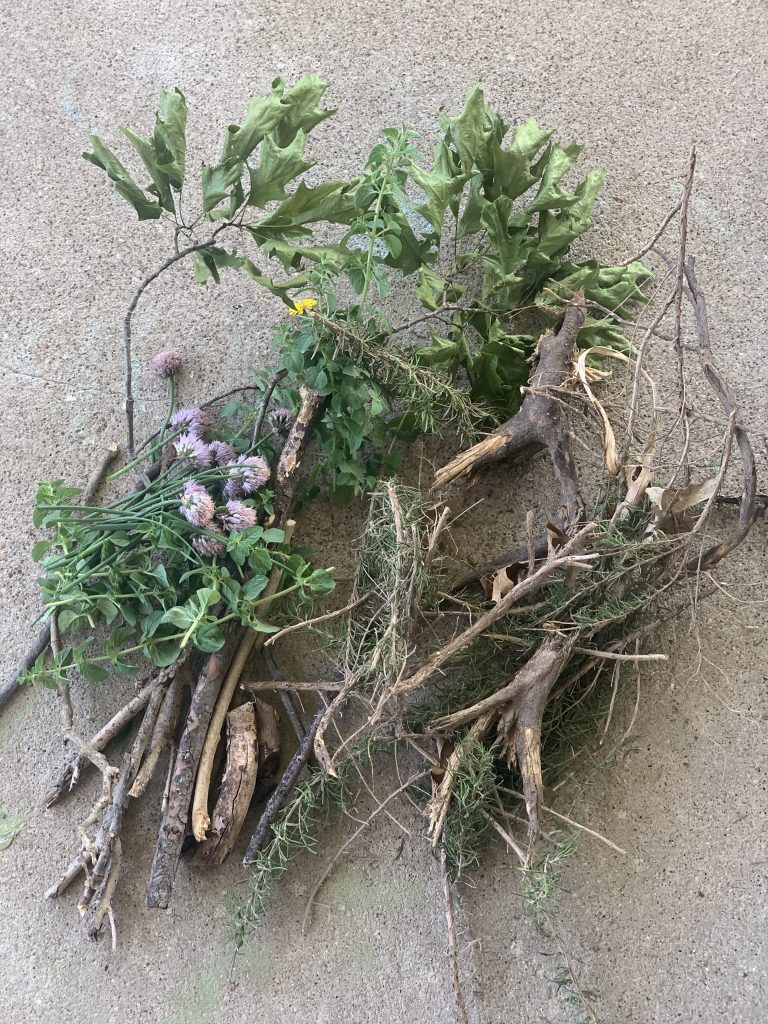
- First, gather your materials. Pile up all those natural treasures. Make sure you have some sticks, twine, or yarn, and a pair of scissors.
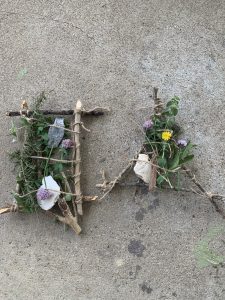
- Next, build your frame. Any shape will work. We did one rectangle and one triangle. Arrange your sticks and tie the corners with twine or yarn.
- After your frame is built, wrap it to create a loom. I used twine because that’s what I had, but I think if you use yarn you might be able to get a tighter weave on your frame. Ours worked well, but a tighter weave might be a little easier for incorporating the nature items and getting them to stay exactly where you want them.
{Read More: Books, Crafts, Food, & Activities To Celebrate The Springtime}
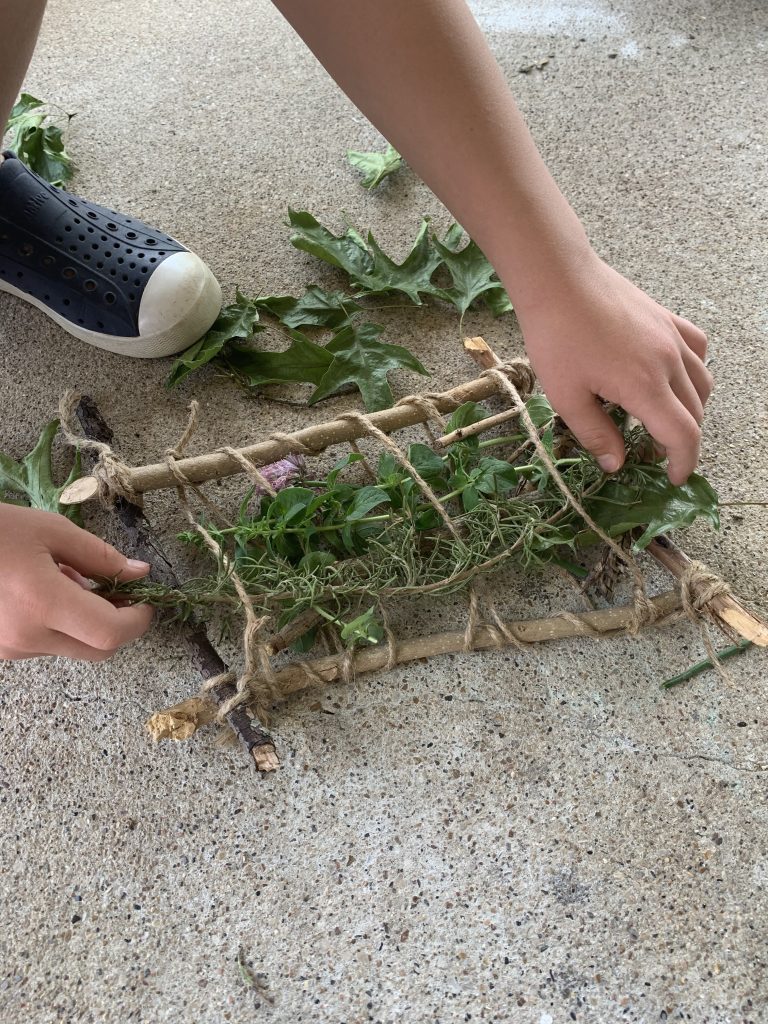 Once your loom is built, weave your nature findings over and under the loom. I think sticks, leaves, and flowers were the easiest to work with, but we managed to stick in some shells and rocks that we had as well. There’s no right (or wrong) way to do it.
Finally, sit back and admire your creation!
Mamas, load up on the allergy meds, get outside, get creative, and have some fun!


