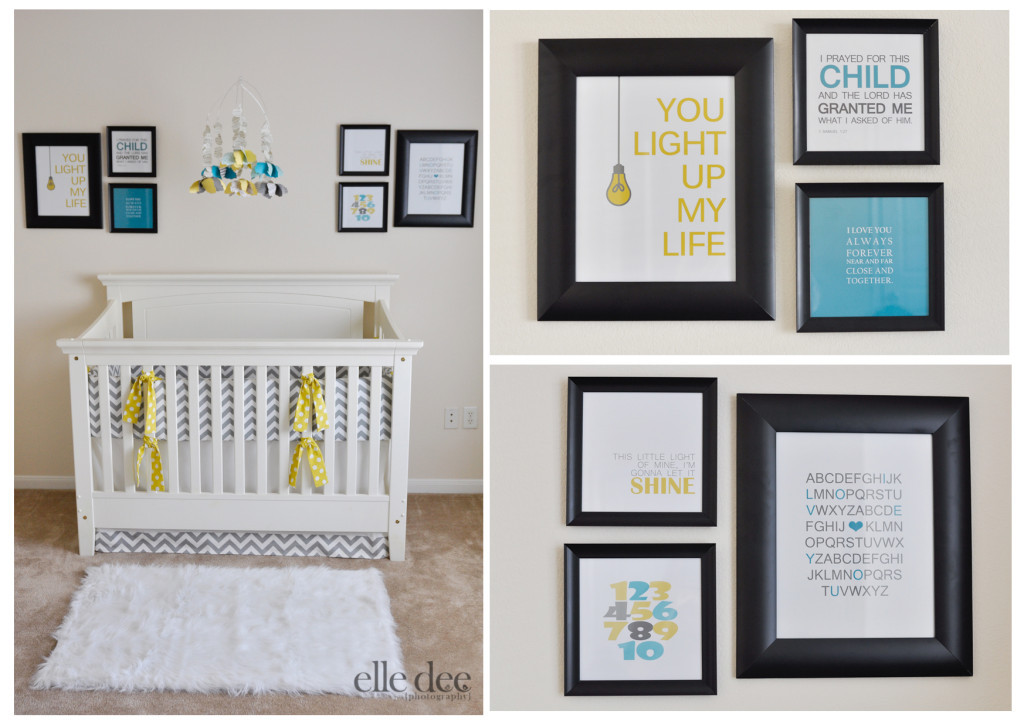
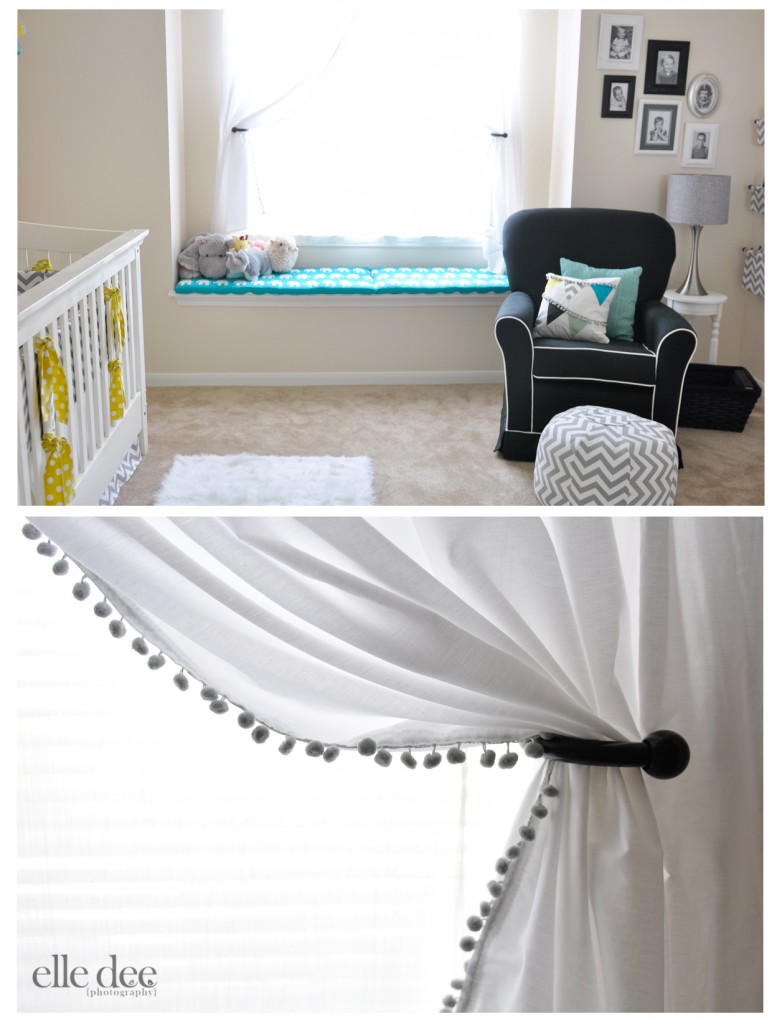
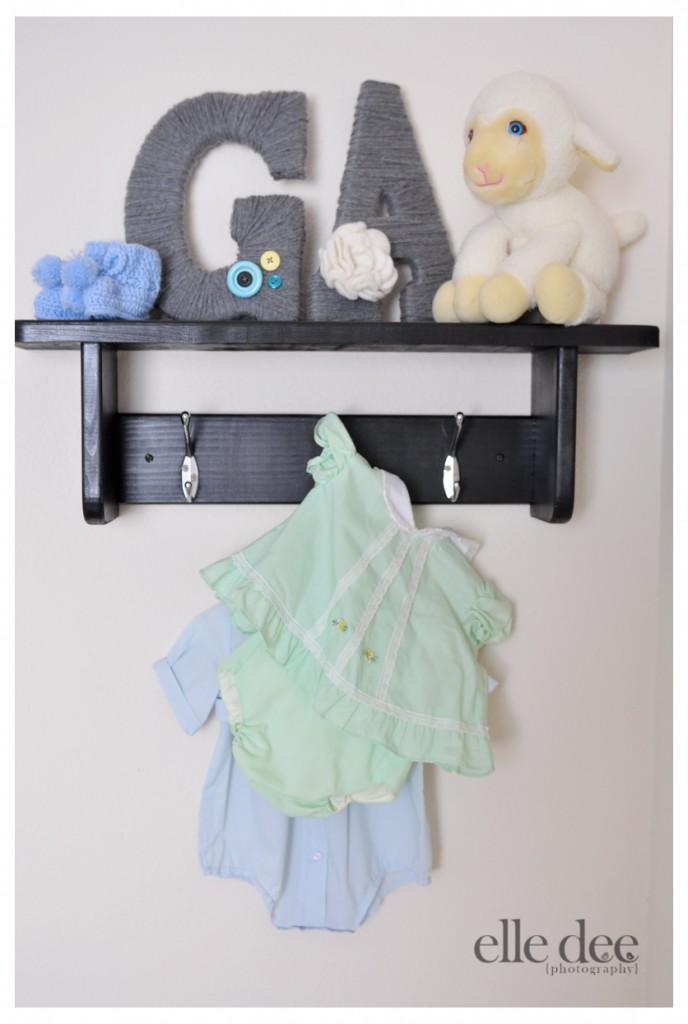
Lindsay and her hubby live in Dallas and are expecting their first little one….but they aren’t finding out if it’s a boy or girl in the oven! Check out Lindsay’s fabulous gender-neutral nursery in grey and yellow, and find out all the details of this DIY dream room!
1. What was your inspiration for this room?
Since we decided that the gender of our baby would be a surprise, I knew I needed a nursery that was neutral. I have never been big on ‘themed’ nurseries – so I started with basic color ideas. I am slightly obsessed with grey and yellow and when I stumbled upon this chevron fabric I knew I had my muse! It then started to develop in my head and I went on a fabric sample binge! I soon had so many samples I could have sewn a quilt and decided I needed to start making some decisions. The day I placed the order for my fabric I was a ball of nerves – what if I hated everything when it arrived? – what if the colors didn’t coordinate? – what if it looked too ‘girly’? … Can we say pregnancy hormones?!? Needless to say when the fabric arrived I was giddy – it was perfect!
2. What did you do first to the room?
The first step was assembling the crib so that I could take measurements for the bedding. I was going to follow my basic sewing knowledge and a few online tutorials and pray that things turned out as planned! The crib was a Craigslist find and a steal at $150!
3. Where did you start?
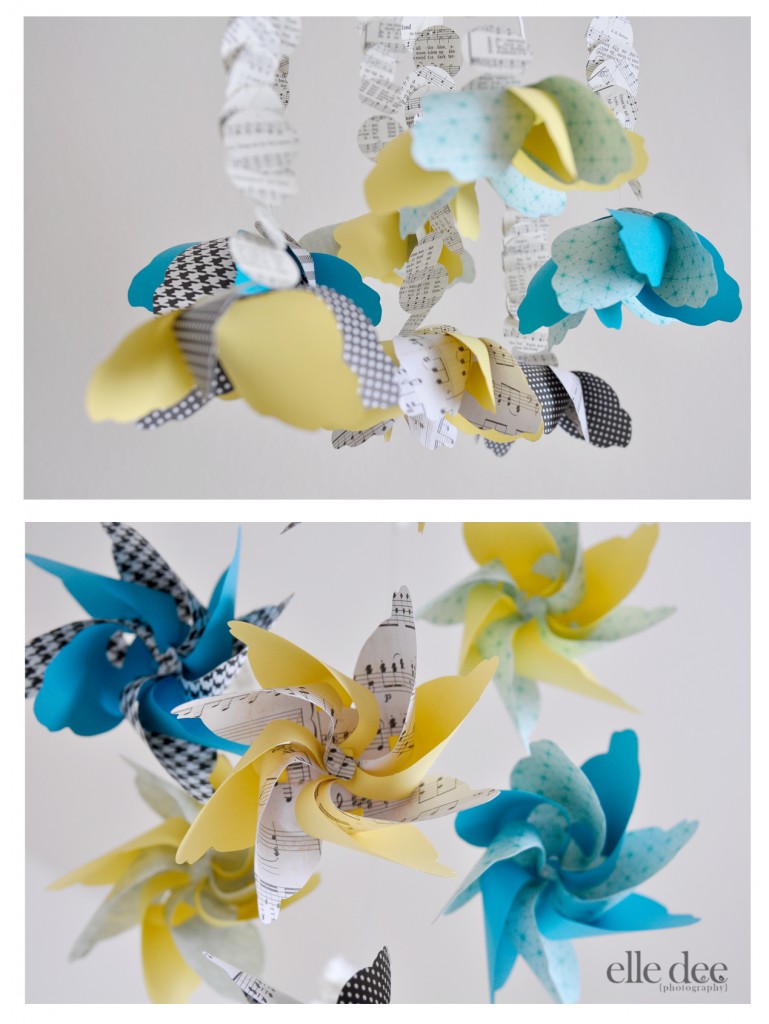
As I waited for the fabric to arrive I got started on the mobile. This baby was a labor of love but I couldn’t be more pleased with how it turned out! I cut the pinwheels from cardstock and followed this online tutorial.
4. What is one thing you are most proud of in this room?
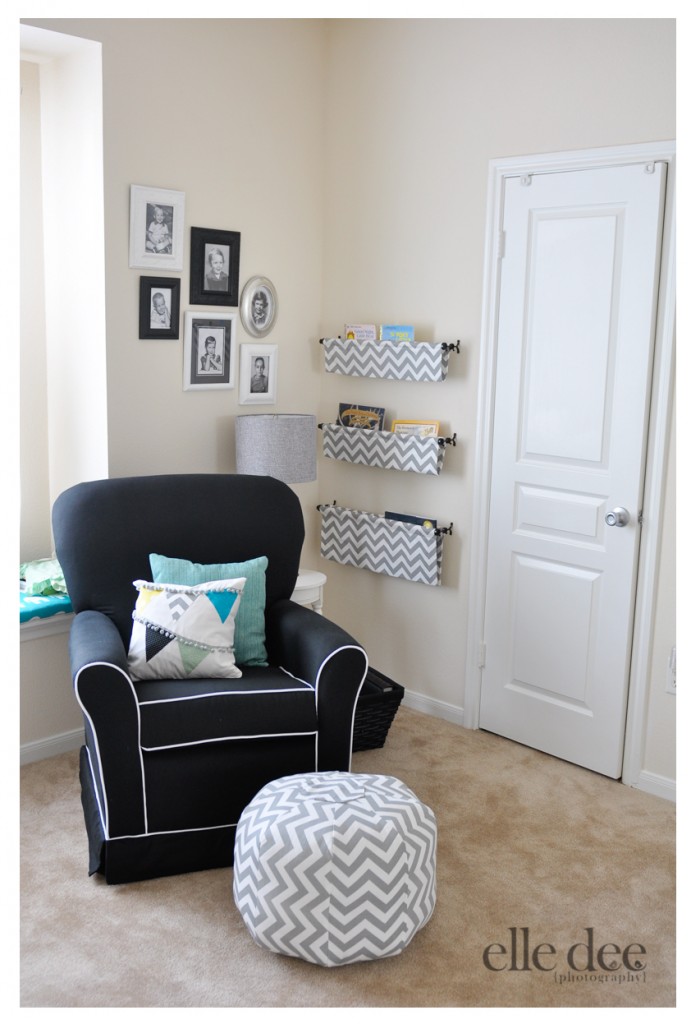
I am rather proud of my DIY Moroccan pouf! I knew I wanted a fun pouf as an ottoman… but man those babies get pricey on Etsy! The Premier Prints fabric I chose is very common so it was easy to find a pouf that matched the room… although I wasn’t too keen on spending $100+ on something made of stuffing! I decided there was no harm in attempting to sew one myself. So after $9 worth of batting, some left over fabric and this tutorial I had my very own DIY pouf! (I made the ‘small’ one and it’s plenty big.)
5. What was one of the biggest challenges you faced while decorating?
Having to give up my original dresser and go with the one you see in the photos. We had visited Canton and found an adorable oversized chest of drawers in a ‘lovely’ shade of blue. It was about $50 and I was super excited about painting and replacing the knobs and making it our own. Seems the chest of drawers had other plans. Since it was super old, it has a past life. A past life that included a smell. A smell that I couldn’t get rid of no matter how much bleach-water, charcoal, wood soap or baking soda that I used. And this new mommy was not about to put clean sweet newborn clothes into a smelly piece of furniture. So the smelly dresser has found a place in our garage as a work chest for the Mister and a ‘new to us’ Craigslist dresser now holds clean-smelling clothes ready for our little one!
6. Were you working with a budget when designing the room?
Yes we were working within a budget – the Mister is in Seminary for crying out loud! Our original plan was to stay around $1000 – including furniture. Below is a breakdown of what we spent… our final number isn’t too far off!
**Lindsay and her hubby have since welcomed a precious little girl, Adalyn Jane, into their beautiful nursery where I’m sure she is enjoying all her mama’s hard work in making it loveley**







Thanks for sharing Lindsay! This room is adorable and I’m seriously drooling over that amazing mobiles!!!
thank you! it’s so fun when the air conditioner comes on and it spins and twirls! 🙂
What a beautiful nursery! Love the chevron!! Great job.
thanks sherry!