


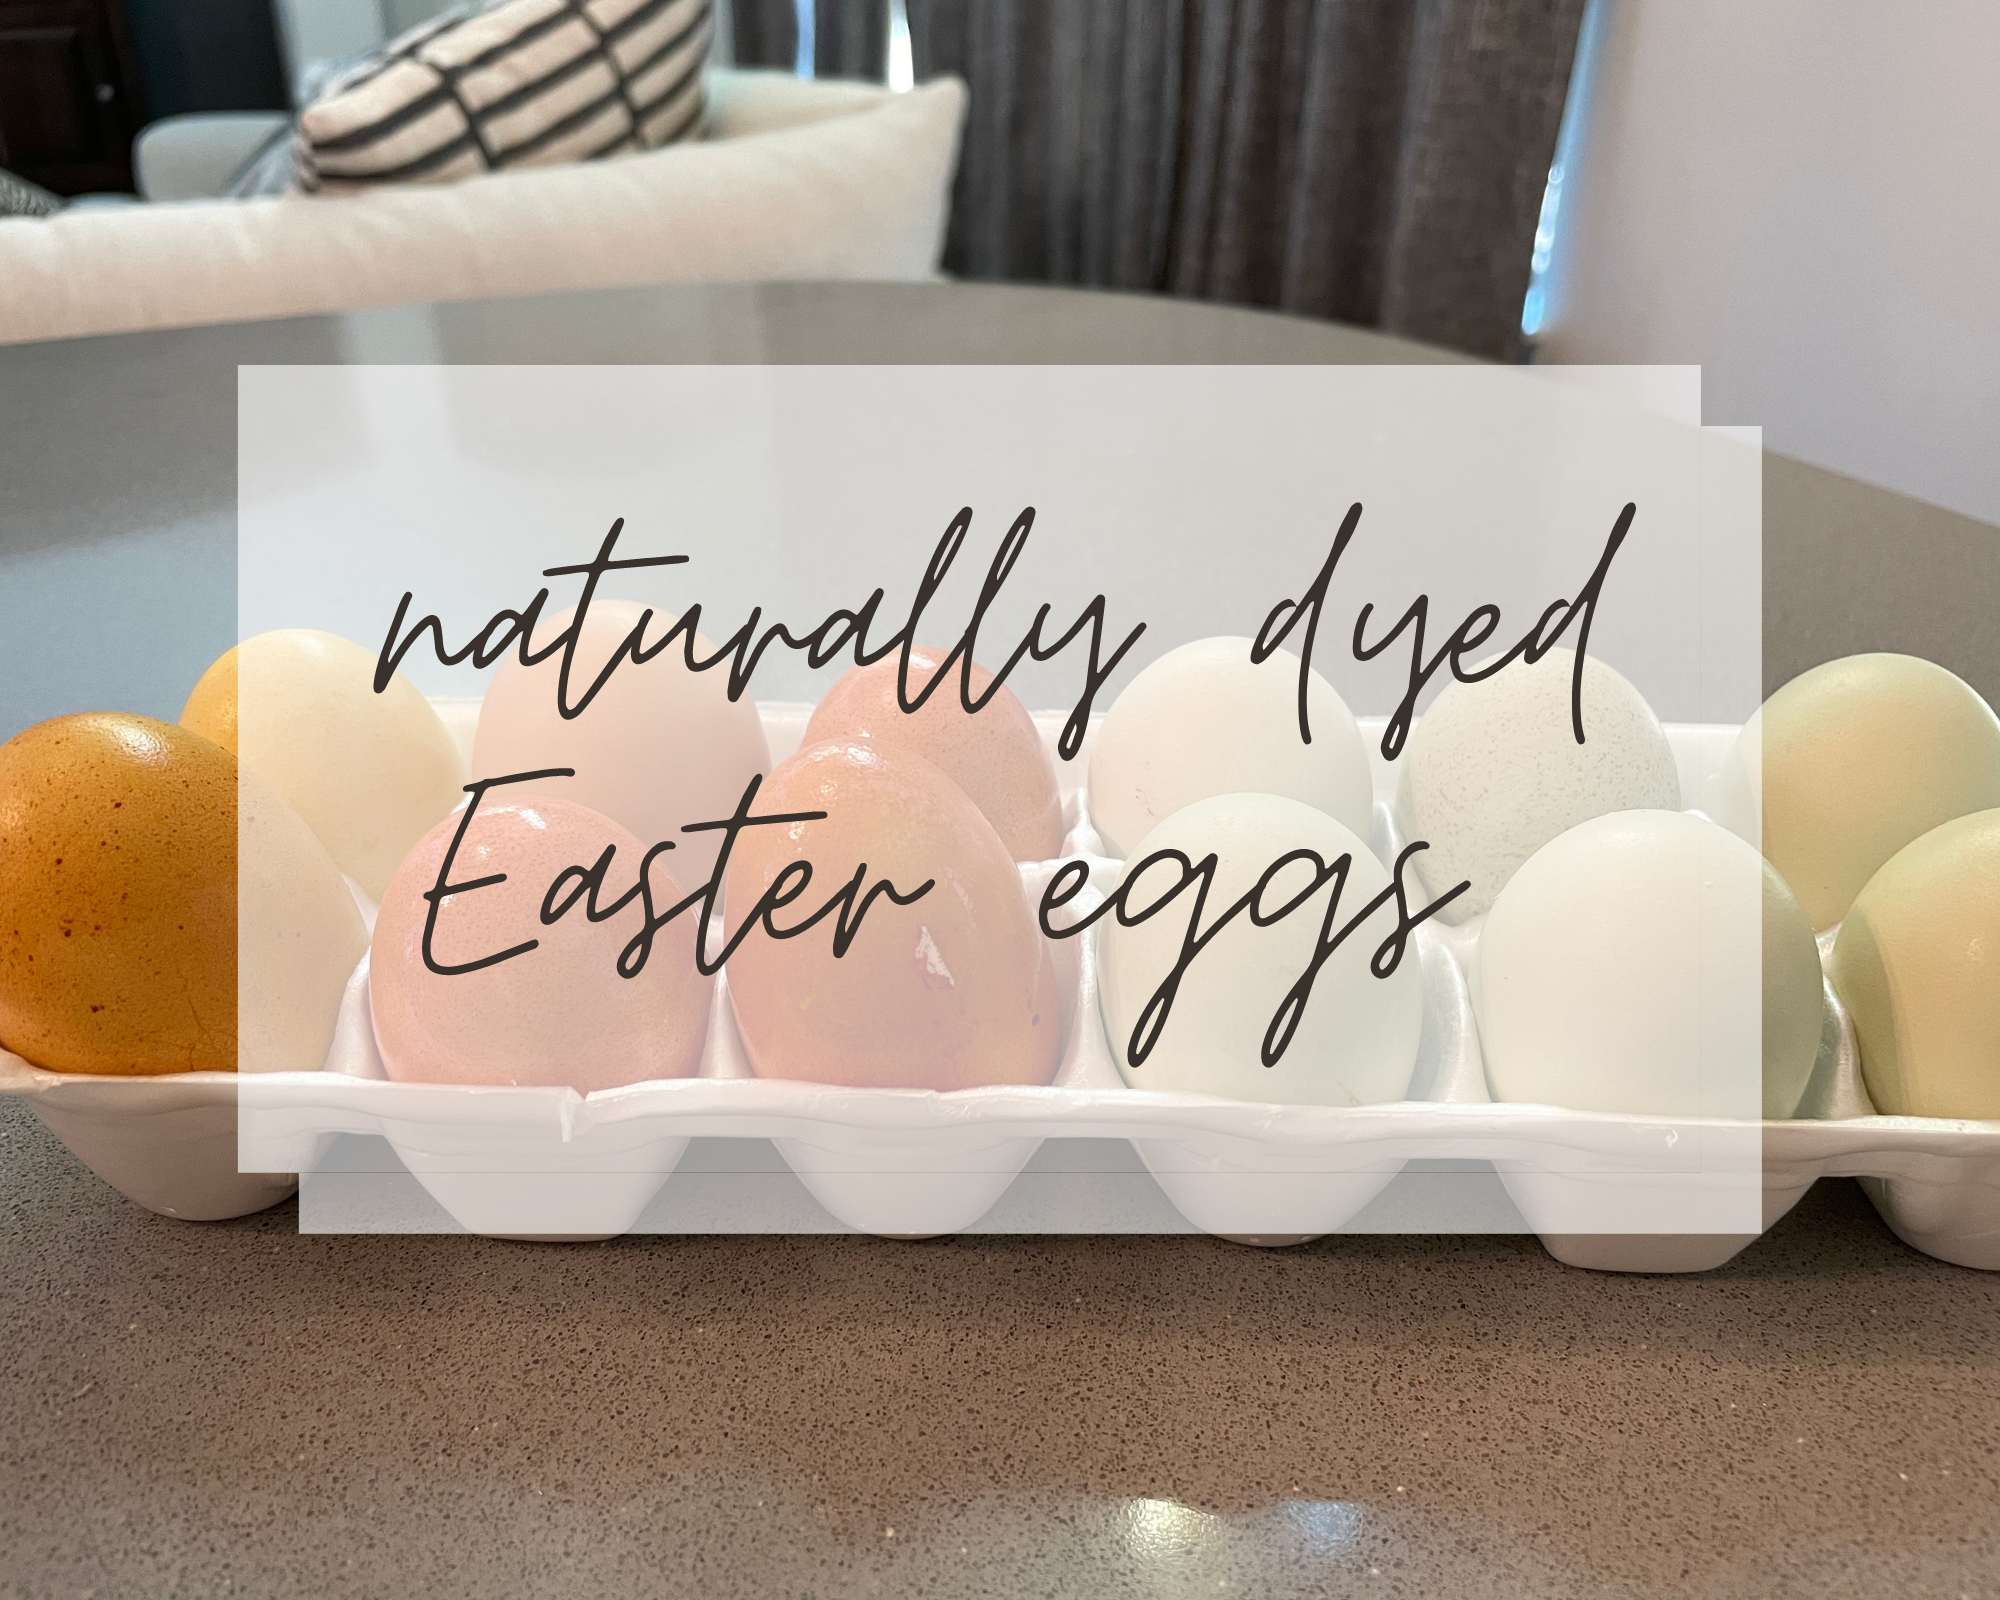
There are so many wonderful things about spring! Easter crafts and decor are at the top of my lists I have never done dyed eggs, but I was determined to try it out this year. After a couple of minutes in a Google search hole, I found a good method to naturally dye eggs. And away we went…

Naturally dying eggs can be described as dying eggs with kitchen scraps or what would otherwise be composting materials. This method is time-consuming, especially if you want to do multiple colors, but once it is done it creates such a dreamy set of colors.
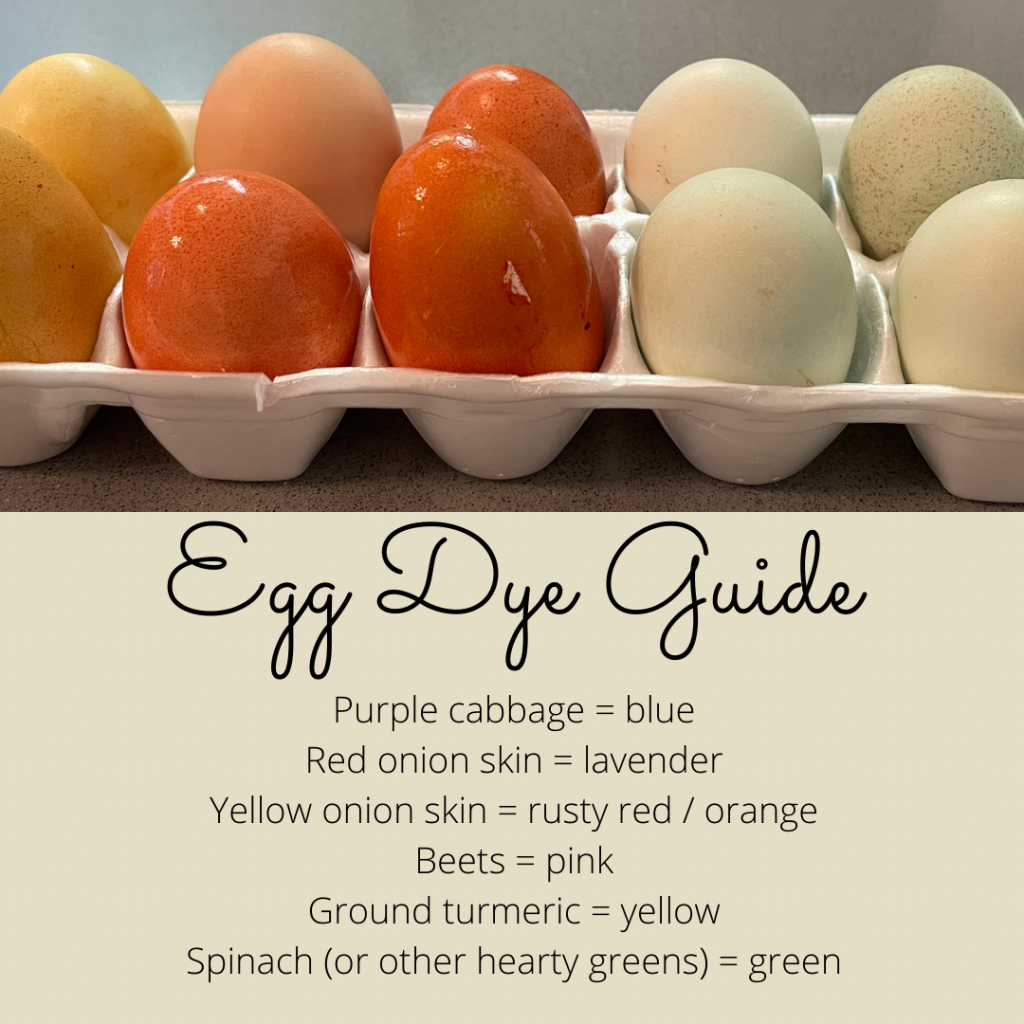
Purple cabbage = blue
Red onion skins = lavender
Yellow onion skins = rusty red/orange
Beets = pink
Ground turmeric = yellow
Spinach (or other hearty greens) = green
Err on the side of a LOT of material for dying. I didn’t experiment with cabbage, but I read that The Kitchn used half of a head of cabbage for just 4 eggs. Another thing to consider is the color of the eggs you use. I used a mix of white and brown eggs. It was kinda neat to see the different hues, but I was surprised how similar they were when they were done.
{Read More: Must-Have Gifts for the Perfect Easter Basket}
Once you decide on your desired color(s), you’ll also need to decide on a cooking method. I went with the refrigerator method, which I outline below. A second option is to hard boil your eggs IN the dye as the dye cooks. I do wish I had tried the latter method as the project went on, only to avoid the extra step of hard-boiling eggs ahead of time.
How to Naturally Dye Easter Eggs (Using the Refrigerator Method)
- The ingredients above use a 1:1 ratio of scraps to water, except turmeric which needs about 2 tablespoons per cup of water. I would do at least 2 cups of water per 3 – 4 eggs.
- Hard boil your eggs first. Once done, let them cool down to room temperature.
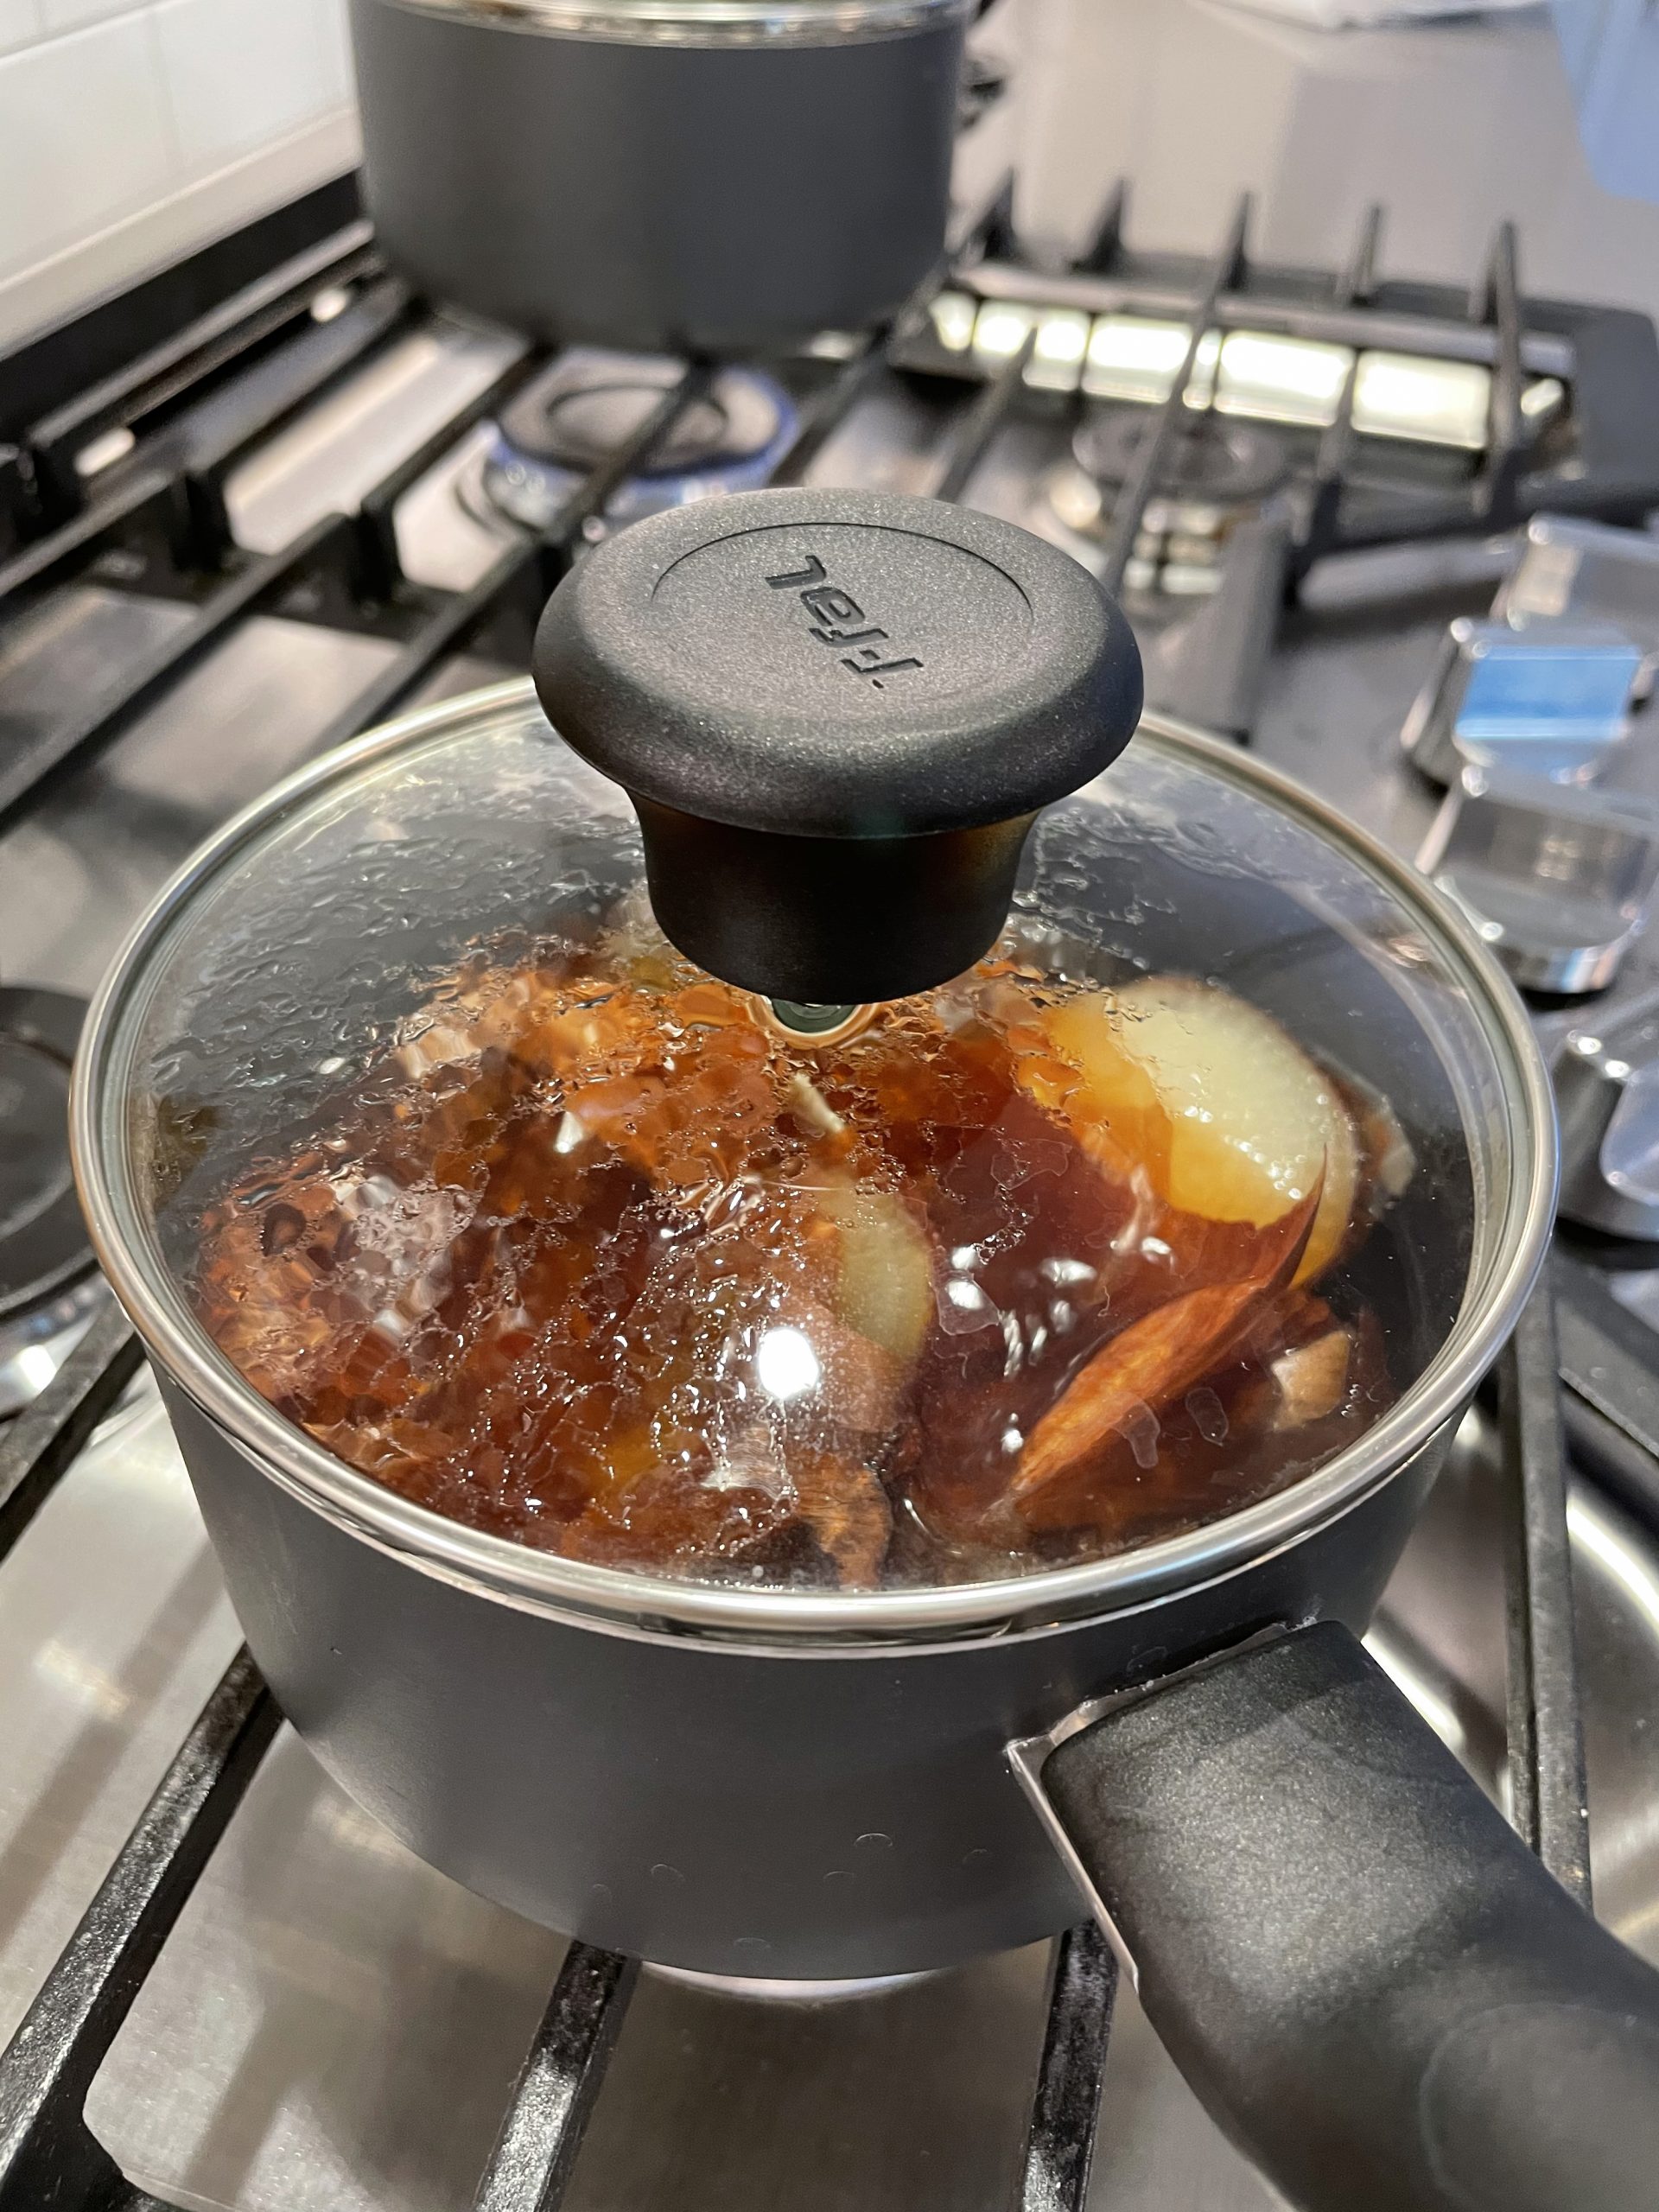
- Add water & dye ingredients to a saucepan. Bring to a boil. Cover and simmer for 15 – 30 minutes.
- Let the dye matter cool. Turn off heat and let the dye cool to room temperature.
- Strain the dye. Pour the cooled dye through a fine strainer and reserve only the colored liquid.
- Add 1 tablespoon distilled vinegar per cup of water to dye.
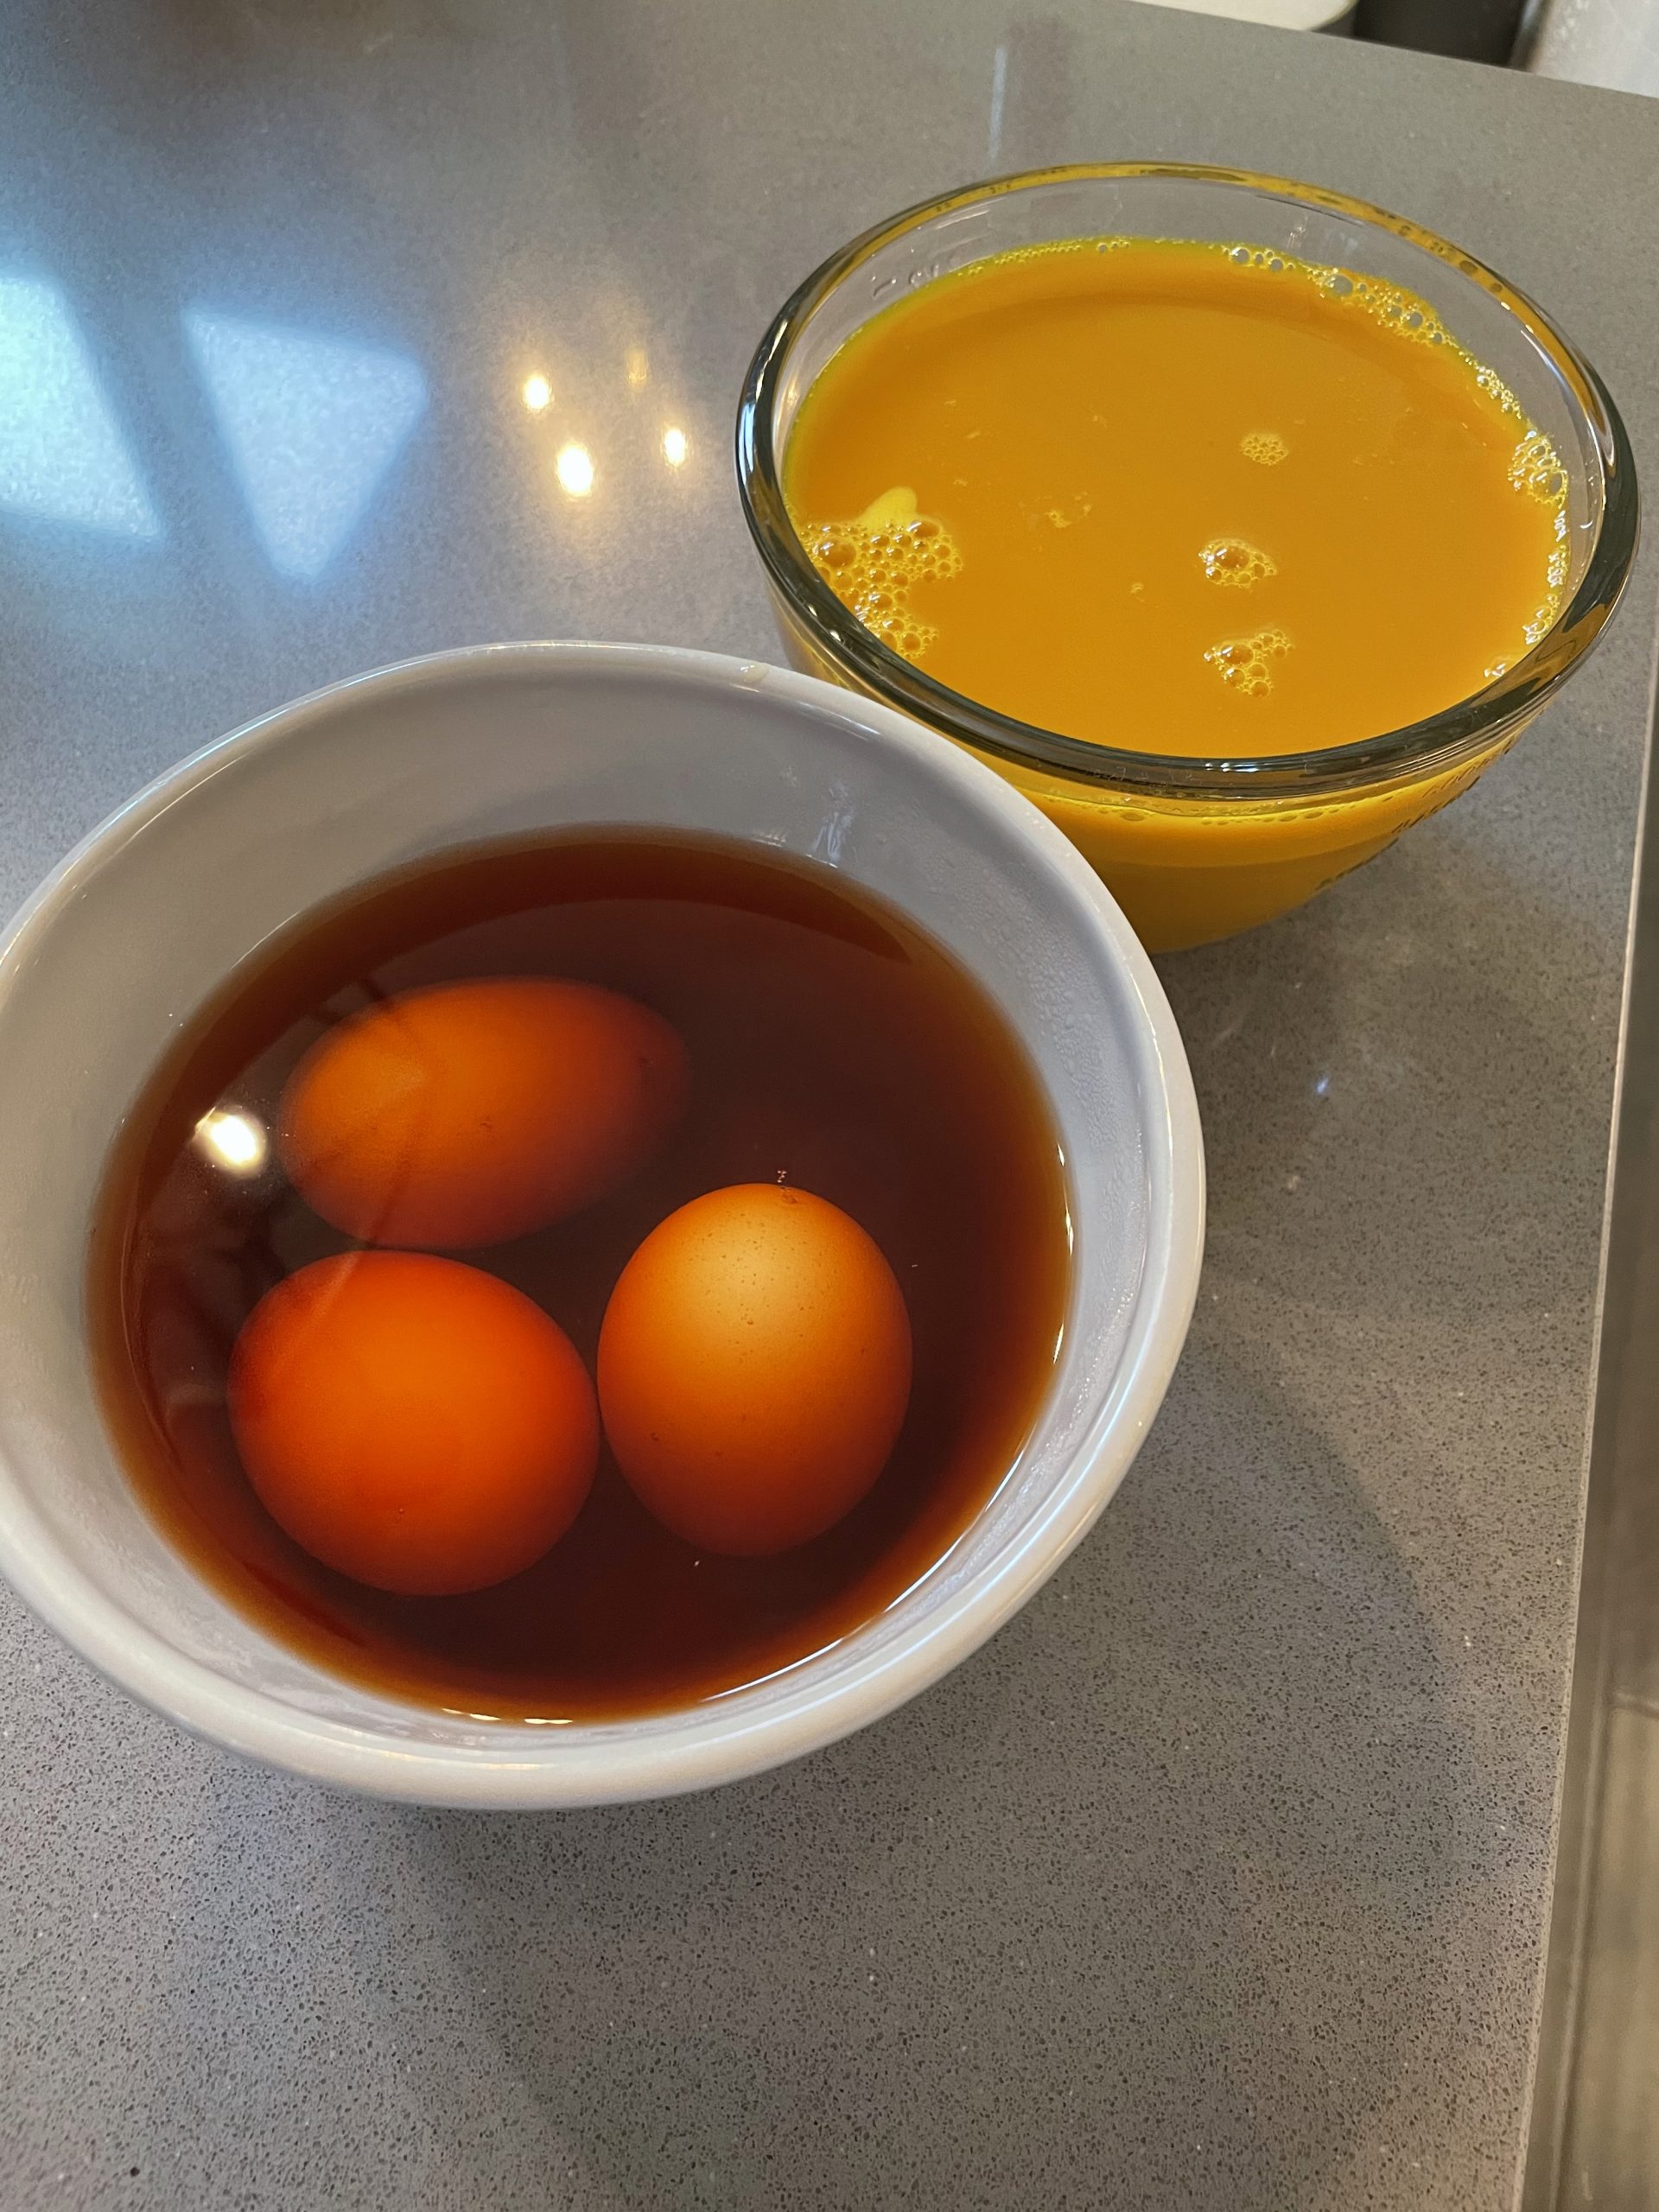
- Pour the dye over the eggs or submerge the eggs in the dye. Make sure the entire egg is covered. Put the submerged eggs into the fridge and chill until the desired color is reached. (I left mine in for hours just because of my busy day. Taking them out to dry then re-submerging will deepen the hue.)
- Remove the eggs from the dye with a slotted spoon and gently dry with a paper towel. I read a couple blog posts that suggest polishing them with oil, but I skipped that part.
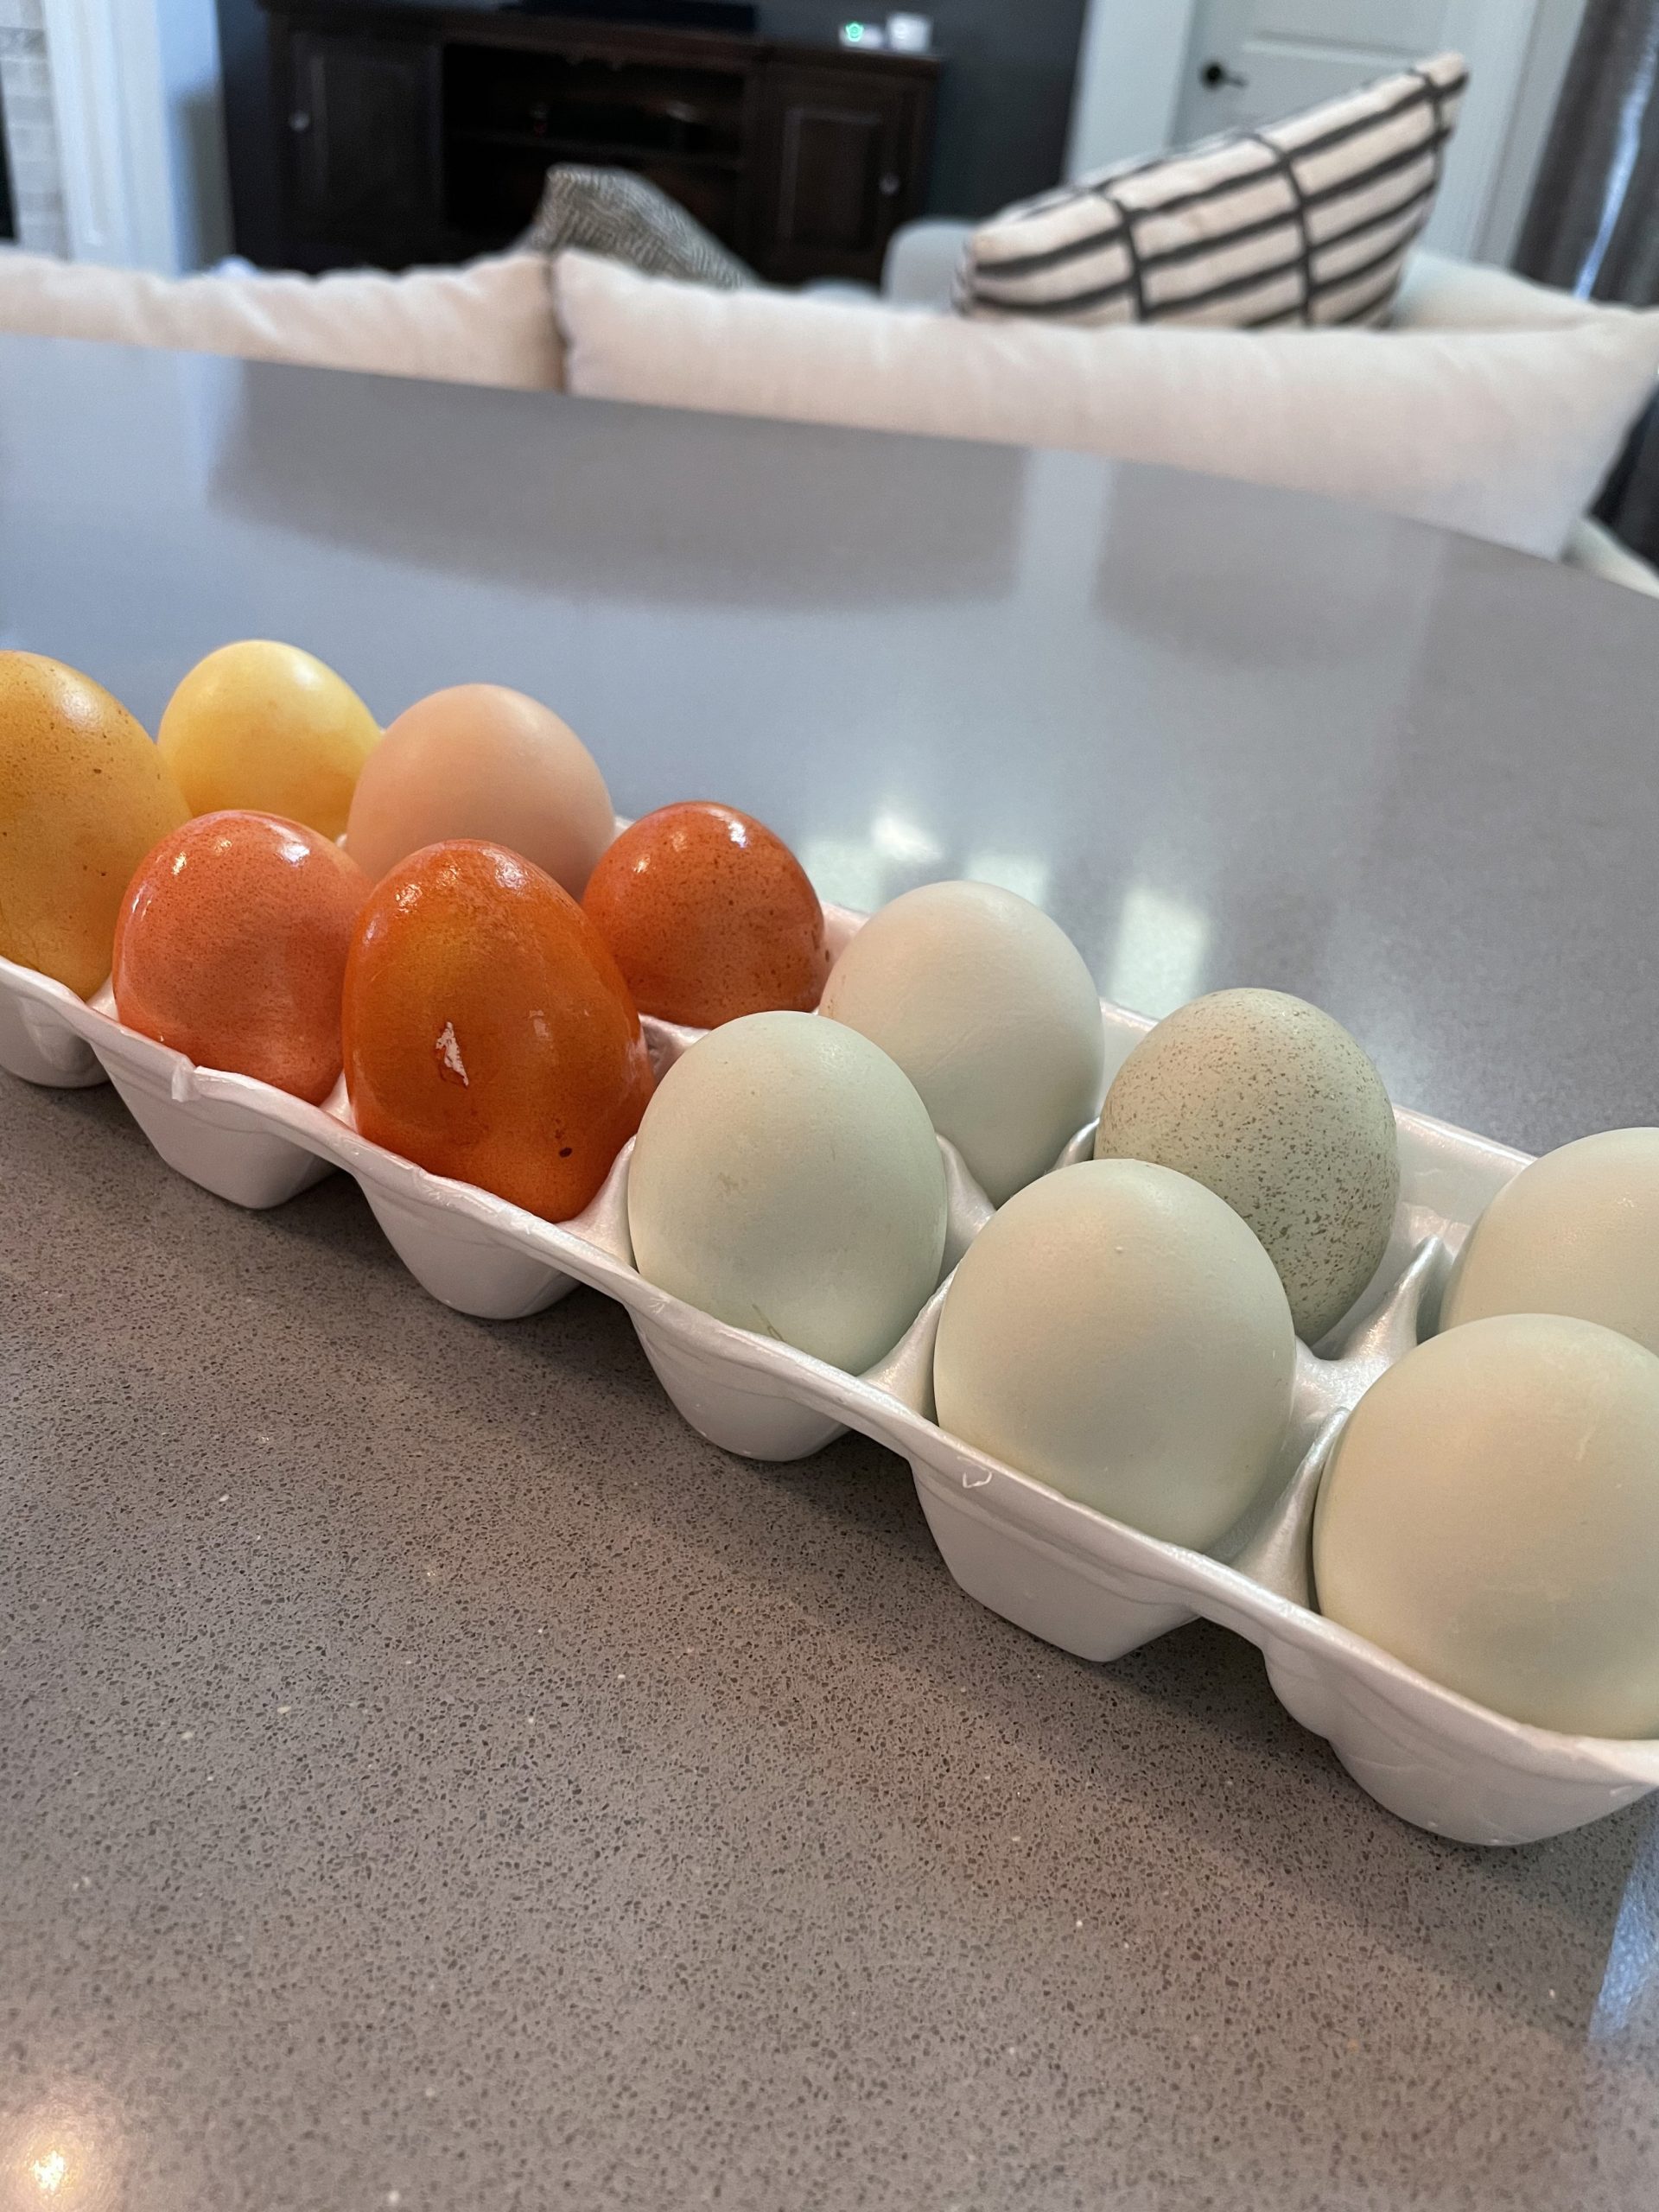
My final result! From left to right: turmeric (yellow), onion skins (rusty red), and spinach/hearty greens (green). I used ground turmeric from my spice cabinet. I had fresh onions but needed the skins for the dye, so I peeled the skins off and saved the onions in the fridge/freezer to use at a later date. My greens were wilted after our Spring Break trip, so I used those as a dye ingredient — I would have otherwise thrown them out!
Get creative! What scraps can you use? I want to try blueberries, carrots, cabbage, and tea leaves. Share your pics with us on IG @dallas_moms!


