


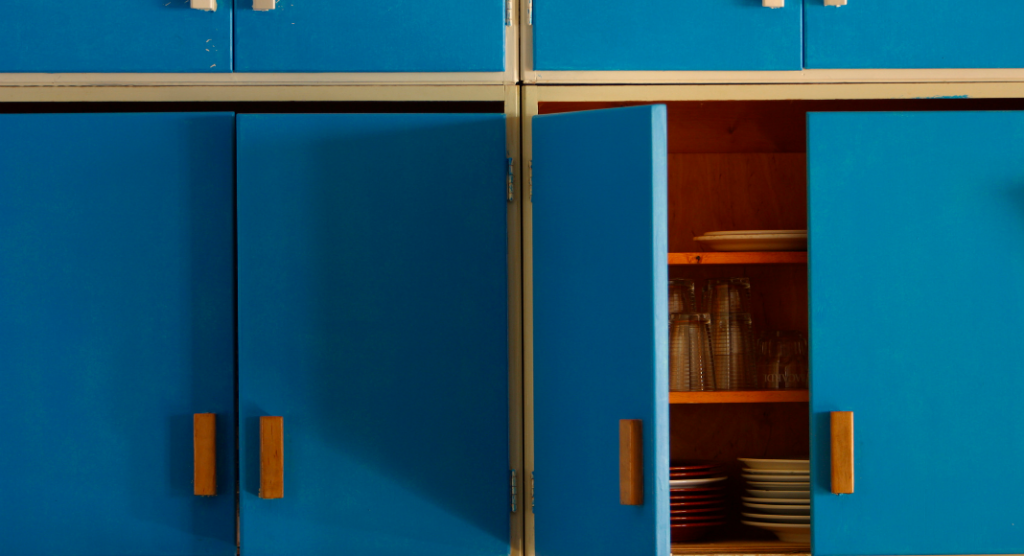
 Our house was built in the 1960s and it has plenty of the quirks that come with older homes. For one, the cabinets shelves aren’t as deep as modern cabinets and are placed lower on the walls than today’s standard.
And don’t get me started on the white linoleum counters and walls that show literally any spot or coffee droplet. You cannot open a can or use a metal mixing bowl without leaving evidence that requires lots of scrubbing to erase.

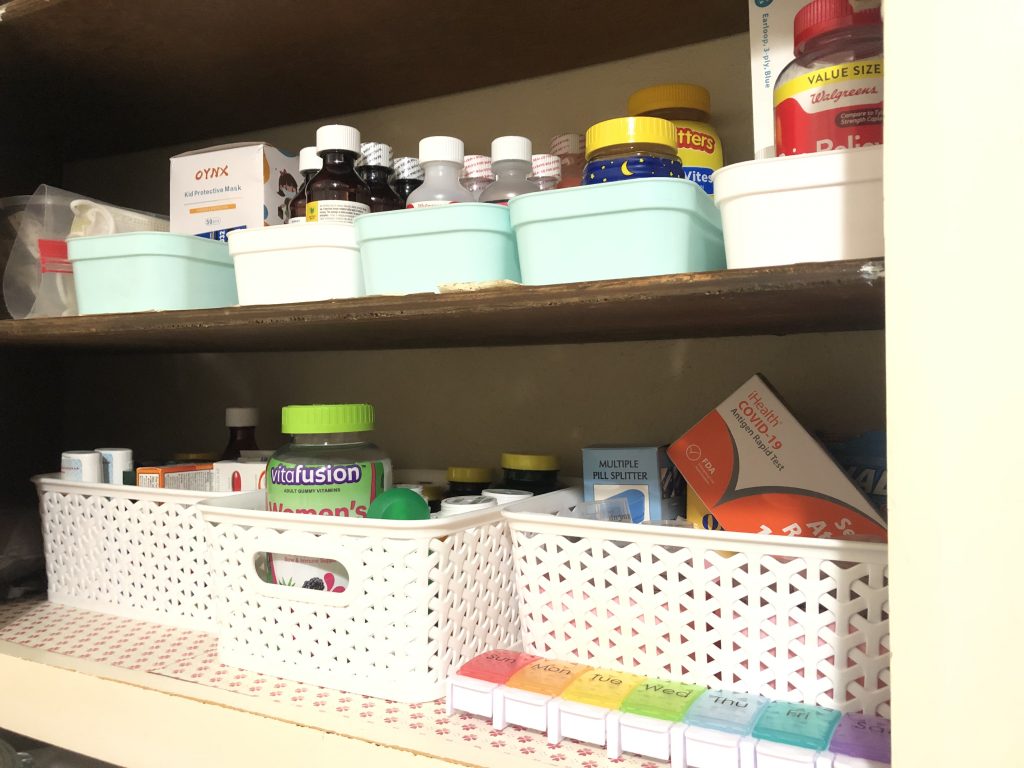
We have been using one of our cabinets for vitamins, medicines, and face masks for years now. These cabinets are also where cookbooks and loose-leaf recipes went to disappear forever into the deep, useless, gaping space in the corner. This deep corner space is so poorly designed! I have to stand on the counter in order to reach all the way to the back. I’m short, but even my tall husband can’t reach to the back without a step stool.
I finally decided to tackle this pain point. It’s something I look at every day when I open the door to get vitamins for the kids and to take my medicine. It’s not a whole room or a big project. But I kept putting it off because I knew it would be tedious.
Here’s how I finally turned my chaotic cabinets into a functional space that makes me happy every time I look at it.
Step One: Work around childcare.
If you can manage big cleaning projects with kids underfoot, that’s amazing. I cannot. I knew I could easily do parts of this organization project while the kids were home, but other parts needed to happen while they were at Grandma’s, or when my husband was home and could take them outside to play.
Step Two: Empty the mess without making more messes.
It’s pretty obvious for a project like this that emptying out the area is necessary. But that doesn’t mean you have to leave piles of new messes in your wake. I put a beach towel on the counter before setting dusty cookbooks down. I had a large trash bag nearby where I could drop in anything we weren’t keeping without climbing back down from the counter again and again. And I placed everything we were keeping in a large tub.
Step Three: Scrub well and measure the space.
I cleaned the space well. It felt great to give those shelves their first good scrub in years. Once that was done, I measured the usable space. Then I went through the house to search for storage containers that might already work well in the cabinet. We didn’t have any, but I found several at Target that were perfect for the space and my budget.
Step Four: Get organized and celebrate!
Each basket serves as a zone with a specific purpose. It’s easy to access what we need, and the way things are set up prevents things from falling back into those dead gaps that we can’t reach. Someday I’ll have a new kitchen, but in the meantime, this little cabinet project was a big win. In all, it cost about $16 and took about three hours.
{Read More: Home Organization when You Can’t Afford a Visit from The Home Edit}


